This is not a tutorial on making a photograph because I’m not a teacher. It is a slightly technical description of how I make a photograph with some general considerations, nothing more.
“You don’t take a photograph, you make it.”
Ansel Adams
I have been photographing consciously, so to say, for a few years. In that time, I have found some ways of making a photograph that works for me.
The following is based on what I normally do around the calli and campi of Venice.
There are three elements or steps to making a photograph: composition, focus and exposure.
Getting ready
Before I begin, I make sure the camera settings are reasonable.
Avoid stupid mistakes and lost photographs by resetting everything before you start
Most of the time, I keep my Nikon D750 in manual mode (M). I sometimes use aperture priority mode (A) if lighting conditions tend to changes constantly and speed of the essence.
I set ISO at the start, roughly based on the weather. For a bright sunny 100 is fine, 200 or 400 for cloudy weather, maybe 800 or 1600 if it is very early or late, or if there’s a lot of fog. I’ll adjust later if I need to get the right exposure.
I set the initial aperture depending on what I want to do. This is more or less a consideration of depth of field. A roughly correct shutter time is determined by simply pointing the camera down the road and adjusting more or less correctly. It just has to be in the correct ballpark to begin with.
I also check that the lens is clean.
Composition
The composition is the creative effort of deciding what to include and what to exclude in the photograph. This is not really within the scope of this post. However, all the rest is dependent on the choices made here.
Composing interesting photographs is more important than fiddling with camera settings
In short, I first try to find something interesting. Then I decide on the angle and point of view, and on the framing of the photograph.
I often use prime lenses with a fixed focal length, so there’s nothing to do on the camera. I’ll move around to get the composition I want.
If I’m using a zoom lens, the focal length will be set here.
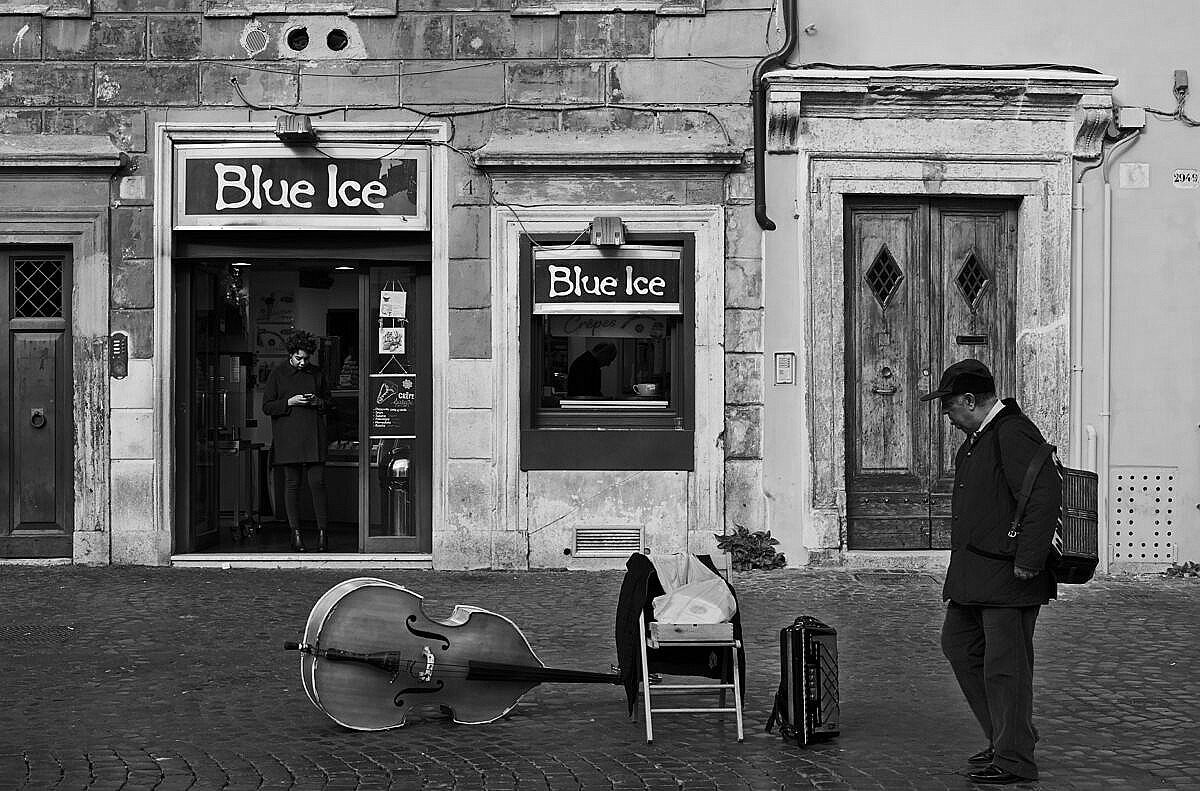
Once I have this conceptual rectangle in front of me, I need to decide what to focus on within that frame.
Focus
Within the frame determined above, I’ll decide on my focus: what is important and what is less so.
Technically, there are two parameters here: focal distance and depth of field.
Use zone focusing to separate focus decisions from making photographs
The focal distance determines the areas within the frame that are in sharp focus. Everything at and around that distance from the focal plane will be in focus, no matter the direction.
You can set the focal distance manually or by using autofocus. In the end, the result is the same.
This leads to depth of field. Technically, this is rather complicated because it depends on focal length, focal distance, aperture and sensor size with a good dose of mathematics tossed in. Luckily, there are apps for that.
The main factor for regulating depth of field at this point is by changing the aperture. A smaller aperture (larger f-number) will give more depth of field, and a larger aperture (small number) less depth of field.
The depth of field is the range around the focal distance that in reasonably sharp focus. It can be millimetres around the focal distance, or it can stretch to infinity (hyperfocal).
As a rule of thumb, ⅓ of the depth of field is in front of the focal distance. The remaining ⅔ are behind it.
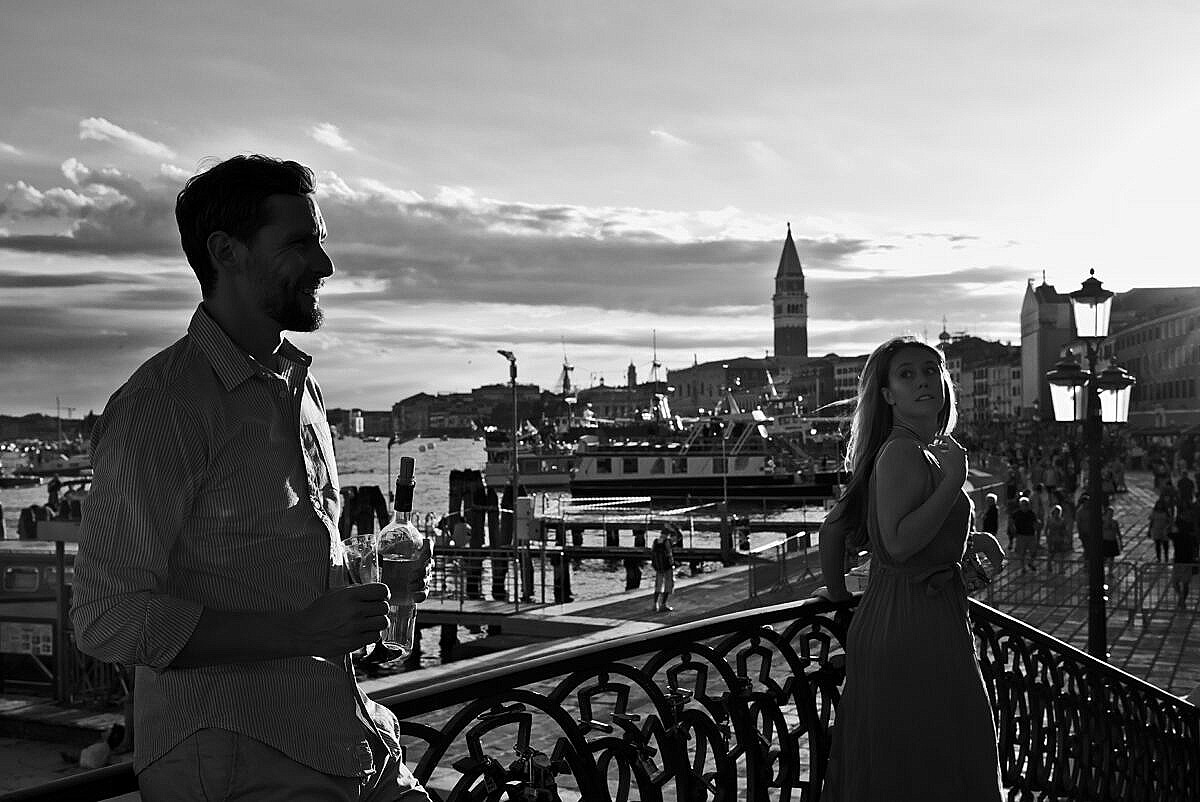
The eye of the viewer tends to move first to the parts of the photograph in focus. A narrow depth of field can therefore serve to isolate a single element of the composition.
A wide depth of field is handy for street photography, as it removes this entire phase of the process. If you know that everything is in focus from 2m to 50m, you don’t need to take focus into account. You can therefore react faster. This is called zone focusing.
Back button focus
My preference is for back button focus with a single central focus point. I have therefore configured the AE-L/AF-L button on the camera to “AF-ON”.
When I push the button, the camera will focus on what is in the middle of the frame. The focus remains there, even if I point the camera elsewhere and push the shutter.
Consequently, I simply point the camera to where I want the focus, and press the button. Once the camera has acquired focus, I can move it freely. When I press the shutter, the focal distance remains unchanged.
If I’m working the same scene for a while, with a sufficiently wide depth of field, I don’t have to re-focus very frequently, which is one thing less to think about.
Back button focus is a kind of middle ground between full autofocus and manual focus.
Exposure
The last concern in making a photograph is getting the exposure correct, so the important parts are clearly visible.
The chosen composition determines what light hits the sensor. The frame will have lighter and darker parts, and again I have to decide what is important and what is not.
Expose correctly on the right side of the histogram for better dynamic range and less noise
The camera has a limited dynamic range, so it might not be able to take in the entire dynamic range of the composition.
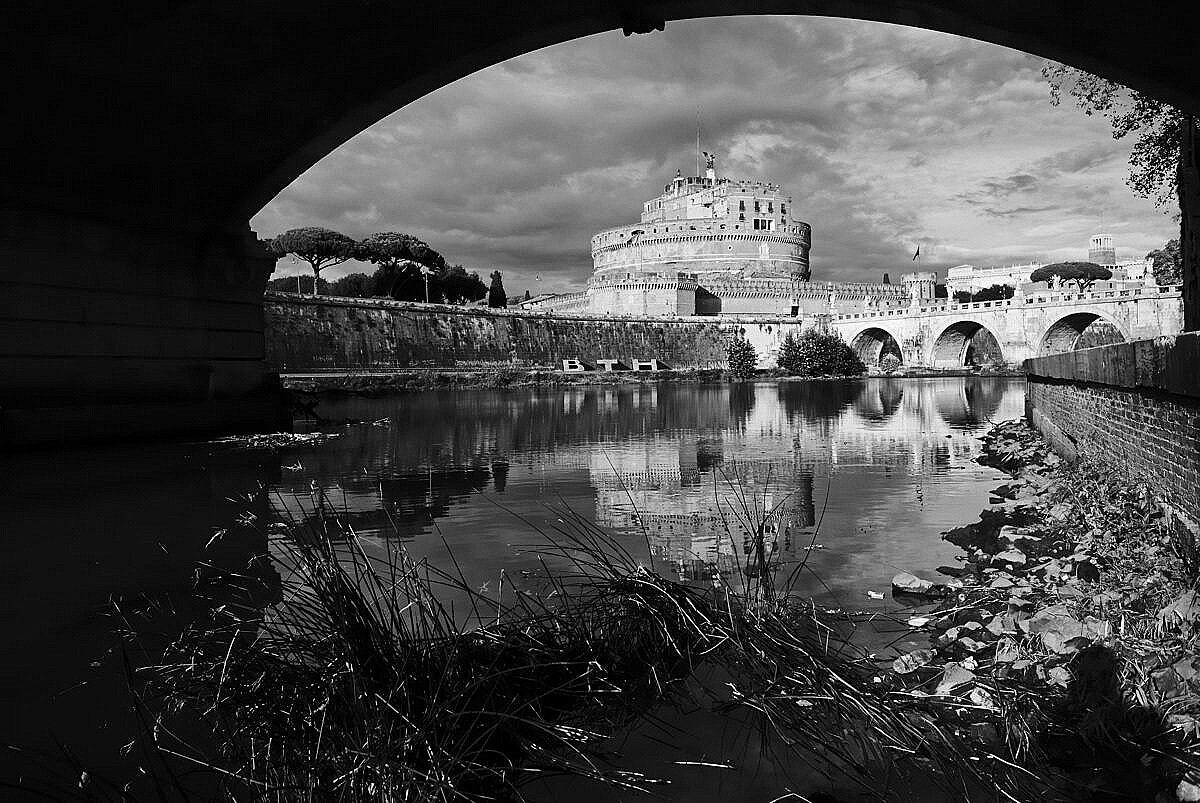
If the sky has interesting clouds, you shouldn’t over-expose it. However, if the sky is uninteresting and only a minor part of your composition, you can blow it out to gain detail in the darker parts.
In post-production, it is often possible to pull details out of under-exposed dark areas, but it is not possible to get details out of a blown out over-exposed area. The safer choice is therefore normally to expose for the brightest important part of the composition.
The brightest area should be at the top of the dynamic range of the camera, so the entire dynamic range is used by the photograph. This might not be what you want in the final photograph, but it will get the most of the capability of the camera. This is called exposing to the right.
The exposure is adjusted by changing the shutter time.
Light metering
Modern cameras have a light meter in the camera. It can measure light in different ways, over different parts of the frame.
The default is normally matrix or evaluative, which averages over most of the frame, but that doesn’t work well if you want to measure light in a specific area of your composition.
I usually have it set metering to centre-weighted, so it measures the lighting in a fairly limited area in the middle of the frame. I then point the camera at the brightest area I don’t want over-exposed, and adjust the shutter (and ISO if necessary) accordingly.
On my camera, if I overexpose the brightest part 2⅓-2⅔ stops, that part will come out nicely in the rightmost part of the histogram. The exact amount will depend on the camera sensor.
My camera has a small display on the top where I can read the light meter and check the exposure, so I don’t need to lift it up to the eye for a rough setting of exposure.
Like with focusing, if I’m in the same area, I don’t always have to re-adjust exposure for every shot. I will know what is the brightest area I don’t want over-exposed, so I will adjust for that and leave those settings while I’m there.
Choices, Choices, Choices
All this boils down to choices. Creative choices about what to include and exclude (composition), what to emphasize and what not (focus and depth of field) and what must be correctly exposed and what can be left over- or under-exposed.
Keep agile, swift and in control by setting zoom, exposure and focus sensibly before you make a photograph
Each of these creative choices might require some adjustment to the camera settings, changing focal length, focus distance, depth of field and exposure.
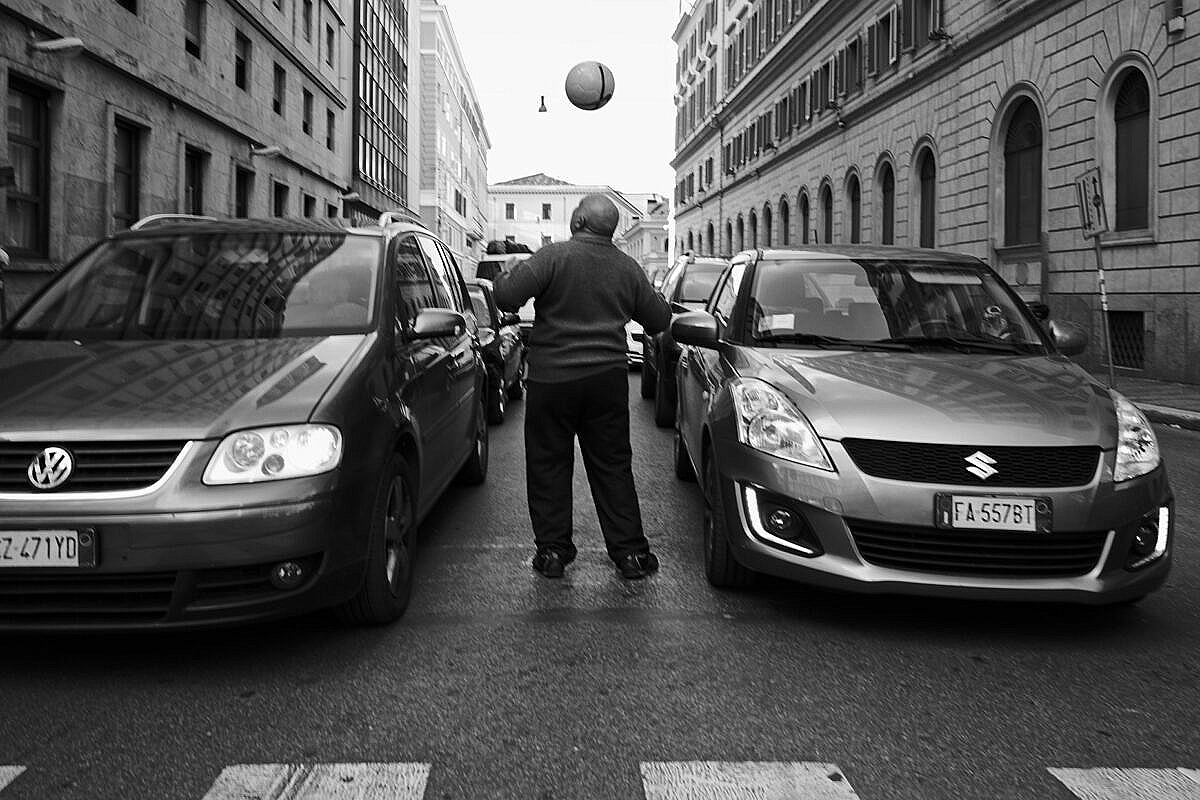
Very often, when photographing on the streets, there is no time for all these choices. People move about, stuff happens, and there’s only a split second to ponder each shot.
The trick is then to reduce the choices necessary for making a photograph.
Using a prime lens rather than a zoom is one way of removing a factor from the equation. On a zoom lens, a bit of scotch or a rubber band can be used to block the zoom ring, so it stays put.
This has the added benefit that after a while using always the same focal length, you’ll see the framing immediately in front of you, without even lifting the camera to your eye. You’ll know at a glance what’s in and what’s out of the composition.
Zone focusing or its extreme, going hyperfocal, is another way. By setting focal length, focus distance and aperture to carefully chosen values, everything within a certain range will always be in sufficiently sharp focus.
This can be close or far away, narrow or wide, as long as you know within what range of distance your subject will come out the way you anticipated.
This leaves on the exposure which needs to be corrected everything the composition is changed substantially.
Even here, thanks to modern cameras with good sensors, even if you don’t nail the perfect exposure, you can still correct it in post-production. If you’re within one stop under- or over-exposed, you can normally fix the exposure afterwards.
By using these techniques, you make photographs in a fraction of a second, and still maintain a high level of creative control.
Leave a Reply